After installing the MikroTik OS, you need to perform the initial configuration as the network is not set up by default. Here's how to do it:
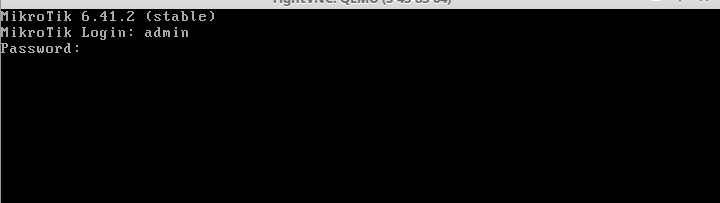
1. Connect to the server using VNC (the credentials are provided in the access email or can be obtained upon request) and log in as admin (by default, it has no password).
/user set admin password=YOUR_PASSWORD
(avoid using simple passwords!)
3. Disable the Telnet service:
/ip service set telnet disabled=yes
4. Configure the network with the following commands:
/ip address add address=VPS_IP/32 interface=ether1 network=GW_IP
/ip route add gateway=GW_IP target-scope=30
/ip dns set servers=8.8.8.8,8.8.4.4
Here:
VPS_IP is the IP address of your VPS.
GW_IP is the gateway's IP address where the VPS is located (you can obtain it upon request or from the VNC credentials).
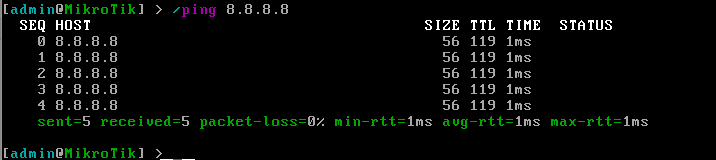
You can check network connectivity using the command:
/ping 8.8.8.8
If everything is configured correctly, you will receive the following command output:
Also, after the configuration, you will have access to the RouterOS web interface via the following link: http://VPS_IP/
(replace VPS_IP with the IP address of your VPS).